
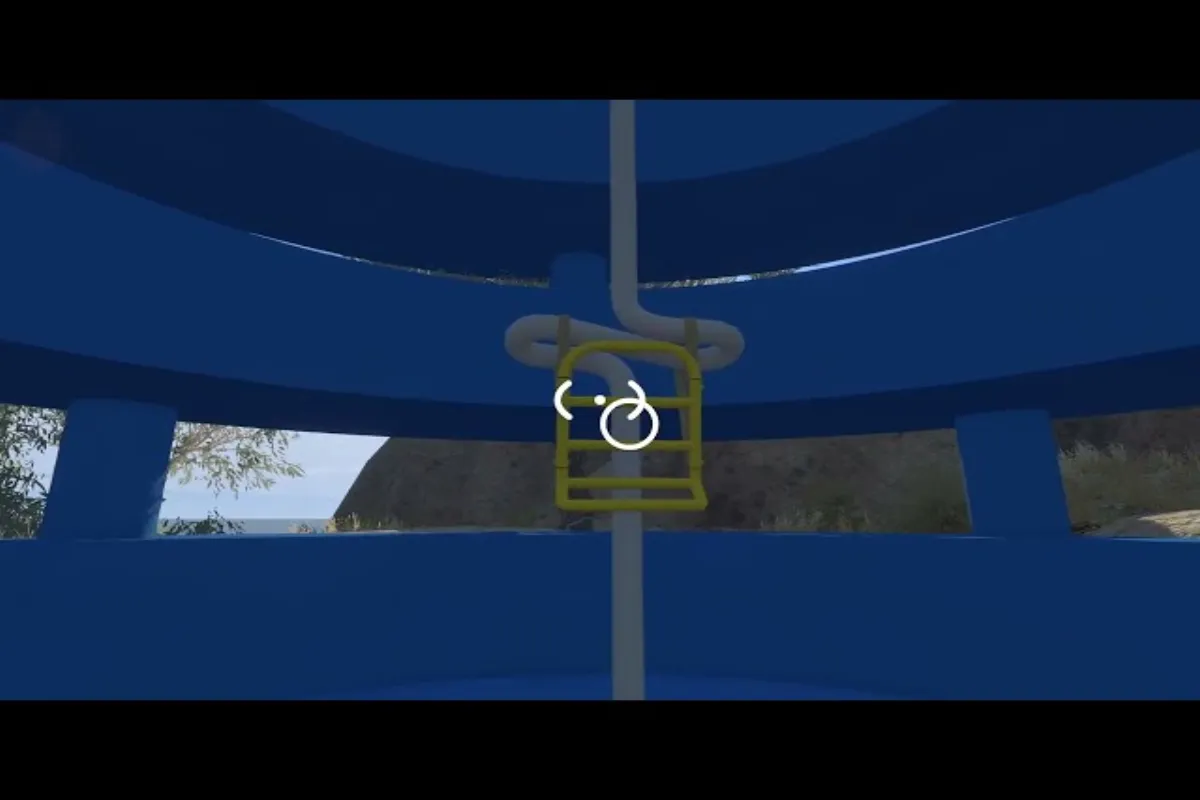
Big Walk Switch Puzzle Overview and Core Mechanics
The Big Walk switch puzzle is one of the trickiest environmental logic rooms in the game because it punishes players who flip switches without first reading the power routing that connects each lever to a target mechanism. Solvers who treat the room as a simple "press everything that glows" exercise will spend five minutes watching doors flicker open and shut. Solvers who map the signal flow before touching anything typically clear the puzzle in under two minutes, even on a first attempt.
Three layers define every switch puzzle in Big Walk: a power source (usually a glowing conduit near the ceiling), one or more relay switches that the player can toggle, and a target device (a locked gate, a spinning platform, or a laser tripwire). Activating the target requires forming an uninterrupted chain between the power source and the device, and every relay in that chain must be in the correct orientation. The puzzle's difficulty comes from the fact that some relays reset after a short timer, forcing the solver to either chain toggles quickly or use co-op to hold multiple switches at once.
| Layer | Visual Cue | Player Action |
|---|---|---|
| Power Source | Steady glow, often blue or amber | Cannot be toggled, only observed |
| Relay Switch | Flickering panel or lever | Toggle to ON or OFF |
| Target Device | Door, platform, or laser grid | Activates when full chain is live |
Before walking through the room, every player should spend five seconds tracing the visible wiring conduits that run along the walls. Each conduit corresponds to exactly one relay, and the color of the conduit almost always matches the indicator stripe painted on the relay's base. This color code is the single most reliable tool for solving the Big Walk switch puzzle without wasting time on trial and error, and it is the same system used in the door code puzzle walkthrough and other environmental rooms throughout the campaign.
Switch Puzzle Triggers and Power Routing Explained
Understanding trigger logic is what separates a clean first-try solve from a frustrating reset loop. Each switch puzzle in Big Walk uses a small set of trigger archetypes, and recognizing them on sight cuts the planning phase down to a few seconds.
Power Sources and Relay Switches
The power source is the non-interactive heart of the puzzle. It broadcasts energy along a fixed number of conduits, and the number of conduits tells the solver exactly how many relays must be in the ON position before the target device responds. A power source with three conduits therefore requires a three-relay chain. Latching relays stay in their last position until toggled again, while timed relays automatically flip back to OFF after roughly four seconds, which is the source of most "why did the door close on me?" moments.
| Relay Type | Visual Cue | Behavior |
|---|---|---|
| Latching Relay | Solid-color handle | Holds ON or OFF until toggled |
| Timed Relay | Pulsing-color handle | Resets to OFF after ~4 seconds |
| Pressure Plate | Floor tile with edge glow | ON while weight is on plate |
Color-Coded Pressure Plates
Pressure plates are the only switches that do not require manual toggling, which makes them both a gift and a trap. Because the plate activates while a player stands on it, the chain can be completed by parking one co-op partner on the plate while the other toggles the remaining relays. The color of the plate's edge glow matches the conduit it feeds, so a yellow plate feeds the same relay as a yellow conduit on the wall. Players who ignore this color link often end up standing on the wrong plate and wondering why the door refuses to open.
Solo players can substitute a portable weight token — a stackable item found in nearby crates — to hold a pressure plate down without leaving their post. According to community testing, two weight tokens are enough to hold any single plate, but stacking three does not provide additional stability and is therefore a waste of inventory space.
Step-by-Step Walkthrough for the Switch Puzzle Room
The room layout changes slightly between biomes, but the underlying wiring logic is identical, so the steps below transfer cleanly to every variant you will encounter after the tutorial. Treat these steps as a template and adapt the specific switch positions to whatever the room shows you.
| Step | Action | Why It Matters |
|---|---|---|
| 1 | Stop at the entrance and count the wall conduits | Conduit count equals required ON-relays |
| 2 | Match each conduit's color to a relay's indicator stripe | Builds your mental wiring map |
| 3 | Identify any timed relays (pulsing handle) | These must be toggled last in the chain |
| 4 | Toggle latching relays in conduit order | Locks the stable half of the chain |
| 5 | Trigger timed relays in rapid sequence | Avoids the ~4-second reset window |
| 6 | Verify target activation before stepping off any plate | Confirms the full chain is live |
Solo Player Strategy
Solo players should always toggle the latching relays first, because those switches hold their state and free up attention for the timed relays. Once every latching relay is ON, sprint to the timed relays and flip them in the order that matches conduit distance from the power source — farthest first, closest last. This sequencing gives the timed relay closest to the target the longest possible ON window before its four-second timer expires. If you have a portable weight token from an earlier crate, drop it on the matching pressure plate before starting the timed-relay chain to save a hand.
Co-op Coordination
Co-op turns the switch puzzle into a synchronized routine rather than a race. Assign one player to "hold" duty — their only job is to stand on the pressure plate that corresponds to the most inconvenient conduit. The second player takes the latching relays, then signals the holder to step off and onto the next plate only after the timed relays have all been flipped. Community reports suggest that voice chat makes this coordination feel trivial, while ping-only play usually adds ten to fifteen seconds of trial-and-error before the team locks into the rhythm. If you are still learning the basics of two-player movement, the Big Walk co-op tips guide covers the callouts that experienced teams use.
Common Switch Puzzle Mistakes and How to Avoid Them
Even players who understand the theory often lose time to a handful of repeatable mistakes. Below is a quick-reference table of the most common failure modes reported by players on the official Discord, along with the one-line fix that turns each mistake into a clean solve.
| Mistake | Symptom | Fix |
|---|---|---|
| Toggling timed relays too early | Door opens then closes immediately | Flip timed relays last, in conduit order |
| Ignoring pressure-plate color link | Plate does nothing, chain stays broken | Match plate glow to wall conduit |
| Solo player ignoring weight tokens | Chain breaks when leaving a plate | Carry two weight tokens at all times |
| Two players stepping on the same plate | Timed relay still resets | Assign one player per plate |
| Treating conduit color as decorative | Random toggle order, slow solve | Always map color first, toggle second |
Timing Windows and Reset Behavior
The four-second timed relay is the single biggest source of reset frustration, and understanding its exact behavior is worth more than memorizing any specific room layout. The timer starts the moment the relay flips to ON, not the moment you toggle it, and the relay does not pause if you toggle it again before the timer ends — it simply restarts the countdown from the new ON moment. That means flipping a timed relay back and forth rapidly is a valid tactic for solo players who need an extra second to reach the next switch, as long as they do not lose track of which relay is currently ON.
Community data suggests that the timer length is identical across all biomes as of the August 2026 patch, so the same pacing strategy works in the forest, desert, and snow variants without retraining. If you want to see this pacing in action, the walkthrough embedded above demonstrates a clean four-second chain from the entrance of the room to the final target device.
Solo vs Co-op Difficulty Comparison
The same puzzle plays very differently depending on party size, and choosing the right approach up front can save several minutes of trial and error. The table below summarizes how each role changes between solo and co-op runs.
| Factor | Solo Run | Co-op Run |
|---|---|---|
| Plate management | Weight tokens or quick hops | Dedicated holder player |
| Timed relay window | Must chain within 4 seconds | Holder waits for toggle signal |
| Failure cost | Reset entire chain if mistimed | Holder can stay put during retries |
| Average clear time | 90-120 seconds | 45-75 seconds |
If you are still building out your early-game toolkit, the Big Walk beginner guide explains how to stock weight tokens, identify conduit colors from a distance, and chain environmental puzzles together during a single exploration loop.
Frequently Asked Questions
Q: Can I play Big Walk solo without other players?
While Big Walk is designed as a cooperative experience, you can explore the world solo. However, certain puzzles and areas require at least two players to complete, so solo walkers will find some content gated behind multiplayer requirements in the current version of the game.
What is the Big Walk switch puzzle, and where does it first appear?
The Big Walk switch puzzle is an environmental logic room where players route power from a wall-mounted source through a chain of relays to a locked target device. It first appears in the forest biome roughly forty minutes into the campaign, and the same wiring logic is reused across every later biome.
Do timed relays always reset after exactly four seconds?
According to community testing as of the August 2026 patch, the timer is consistently four seconds across all biomes, though minor visual cues may shift slightly with future updates. Toggling the relay before the timer ends resets the countdown, which is the safest way to extend your chain window as a solo player.
Can the switch puzzle be skipped entirely?
No, the switch puzzle gates a required path forward, so it cannot be bypassed or skipped. However, you can leave the room and return later, and the puzzle state resets cleanly whenever you re-enter the area.
How many weight tokens do I need for solo pressure plates?
Two weight tokens are enough to hold any single pressure plate active indefinitely, and carrying more than two provides no additional benefit. Crates near the entrance of the puzzle room usually contain at least one token, so stock up before you start toggling relays.